





How to Clean a Coffee Grinder So Your Coffee Tastes Like It Should
If you grind your own beans and haven’t cleaned your grinder in months, I can almost guarantee your coffee tastes worse than it should. Not dramatically worse — you wouldn’t spit it out — just duller. Flatter. A little muddy around the edges. That’s old coffee oils and stale grounds building up inside the machine, and learning how to clean a coffee grinder properly takes about ten minutes and fixes it completely.
Here’s the thing most people get wrong: they rinse it, or shake it out, or never touch it at all. Coffee grounds leave behind oils that go rancid, the same way a frying pan left unwashed turns sticky and stale. Those oils coat the burrs or blades, and every fresh batch of beans you grind picks up a little of that old, bitter residue. A clean grinder is one of the cheapest upgrades you can make to your morning cup.
How to Clean a Coffee Grinder by Type: Blade vs. Burr
First, figure out which kind you own, because the methods are completely different.
A blade grinder looks like a tiny food processor — two spinning blades under a clear lid. Most cost $15–$30, and brands like Cuisinart and Hamilton Beach sell millions of them. A burr grinder (think Baratza Encore, Breville Smart Grinder Pro, or the Fellow Ode) crushes beans between two abrasive discs and gives a far more even grind. Burrs produce better coffee, but they’re also fussier to clean.
Pick the wrong method for your grinder and you can actually damage it. So check yours, then follow the matching steps below.
How to Clean a Blade Coffee Grinder (the Rice Method)
Blade grinders are sealed units — you can’t take the blades apart, and you definitely shouldn’t submerge the whole thing in water because the motor sits right underneath. The classic fix is the rice method, and it genuinely works for blade grinders.
- Unplug the grinder. Non-negotiable. You’re about to run it with dry rice, and fingers near spinning blades are a bad idea.
- Pour in about 1/4 cup of uncooked white rice — enough to cover the blades.
- Put the lid on and grind the rice for about 30–60 seconds, until it turns into a fine powder. The rice flour absorbs the stale coffee oils and scrubs the chamber walls as it spins.
- Dump out the rice flour and look inside. If the walls still look oily or you can see dark residue, repeat once.
- Wipe the interior with a slightly damp paper towel or cloth. Don’t soak it — damp is enough.
- Leave the lid off for 10–15 minutes so everything air-dries completely before your next use.
That’s it. Do this every week or two if you grind daily, and your blade grinder will stay in good shape for years.
One caution: some people run flavored rice or minute rice through, and both are mistakes. Minute rice is too soft to do any scrubbing, and anything with seasoning leaves its own residue. Plain uncooked white rice, nothing else.
How to Clean a Burr Coffee Grinder (the Brush-and-Tablet Method)
Burr grinders need a gentler touch. The burrs are precision parts, and the motor and electronics hate moisture. Never run rice through a burr grinder — uncooked rice is harder than roasted coffee and can stress the motor, chip burr coatings, and void your warranty. Breville says this explicitly for the Smart Grinder Pro, and most manufacturers agree.
Here’s the safe routine:
- Unplug the grinder and empty the bean hopper. Pour leftover beans into an airtight container — don’t leave them sitting in the hopper for weeks.
- Remove the hopper. On most burr grinders (Baratza Encore, Breville, Oxo Brew), it twists off easily. Wash it separately with warm water and mild dish soap, then dry it completely.
- Take out the upper burr if your model allows it. Check your manual — most mid-range grinders are designed for this, but don’t force anything that resists.
- Brush everything. A stiff pastry brush or an old toothbrush works fine; dedicated grinder brushes cost a few dollars and reach further. Brush both burrs, the grinding chamber, and the little chute where grounds exit. This is where the real buildup hides, and it’s oddly satisfying to see how much comes out.
- For a deeper clean, run grinder-cleaning tablets through the burrs. Urnex Grindz is the standard — you grind the recommended amount through the machine like coffee, and the tablets absorb oils and loosen compacted fines. Follow with 15–30 grams of cheap beans as a “purge” to clear out any tablet dust before your next real brew.
- Reassemble carefully, double-checking burr alignment. Misaligned burrs produce inconsistent grinds, which defeats the whole purpose.
A full disassembly clean every 1–2 months is plenty for most home users. Between deep cleans, a quick 30-second brush-out once a week keeps buildup from getting out of hand.
How Often Should You Clean It? (A Simple Schedule)
Guessing never works, so here’s a schedule based on how much you actually brew:
| How often you grind | Quick clean | Deep clean |
|---|---|---|
| Every day | Brush out grounds weekly | Full disassembly monthly |
| A few times a week | Quick clean every 2 weeks | Full disassembly every 2 months |
| Occasionally | Quick clean monthly | Full disassembly every 3 months |
Two things that should move you up a row: oily dark roasts and flavored coffees. Dark roasts (think Starbucks-style espresso blends) leave far more oil behind than light roasts, and flavored coffees — vanilla, hazelnut — coat everything with sticky residue that goes rancid fast. If you brew either, clean more often than the table says.
What About Manual (Hand) Grinders?
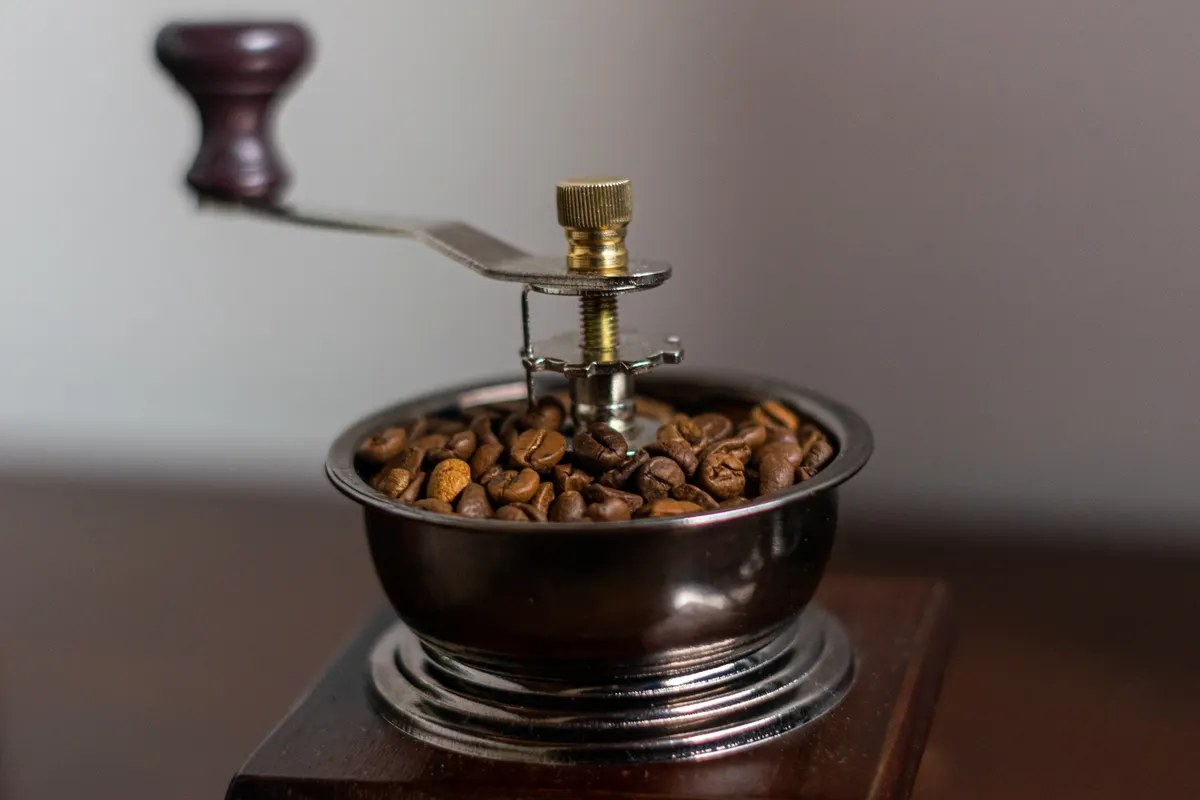
Hand grinders — the crank-style ones from brands like 1Zpresso, Timemore, and Porlex — are actually the easiest to keep clean, and they need less of it. There’s no motor, no electronics, and very little internal space for grounds to hide. Most of the time, new beans push old particles straight through, so they’re partly self-cleaning.
For a manual grinder, you rarely need to take it apart. Every week or so, empty the grounds catch jar (wash it with warm soapy water if it’s plastic or glass — never aluminum under running water for long, since it can discolor), brush around the burrs with a small brush or a camera-lens dust blower, and you’re done. A full disassembly every 3–6 months is enough unless you’re grinding very oily beans.
One thing to avoid with hand grinders: over-cleaning. The burrs are precision-fit, and taking the whole thing apart every week risks misaligning them or working ultra-fine particles into the bearings. If the grind starts feeling inconsistent after a deep clean, the burrs probably aren’t seated right — loosen, reseat, and re-tighten carefully. Less is more here.
The 30-Second Daily Habit That Prevents Most Buildup
Deep cleans matter, but honestly, most grinder gunk comes from neglect between cleans. A tiny daily routine prevents it:
- After grinding, tap the grinder gently to knock loose grounds out of the chute.
- Wipe the hopper lid and exterior with a dry cloth — coffee dust settles everywhere and gets sticky over time.
- Empty the catch cup or grounds bin instead of letting grounds sit overnight. Old grounds go stale fast and can draw pantry pests into your kitchen.
- Store your beans in an airtight container, not in the hopper. Beans left in the hopper go stale and coat it with oil, doubling your cleaning work. An opaque, airtight canister (Fellow Atmos and Airscape are popular) keeps beans fresh for 2–3 weeks after opening.
None of this takes more than half a minute, and it stretches the time between deep cleans considerably. Think of it like wiping down the stove after cooking versus doing a full oven clean — the little habit is what actually keeps things manageable.
5 Signs Your Grinder Is Overdue for a Clean
Your grinder will tell you when it needs attention. Listen for these:
- Your coffee tastes stale or bitter even with fresh beans. This is the number-one sign, and the easiest to misdiagnose as bad beans.
- Visible oily buildup inside the hopper or around the burrs. Dark roasts leave a shiny film — if you can see it, you’re late.
- Off-color grounds after switching beans. Grounds from your new bag look muddy because old grounds are mixing in.
- The grinder sounds different — louder, strained, or slower than usual. Compacted grounds make the motor work harder.
- Grind settings feel off. If your usual espresso setting suddenly pours too fast or too slow, buildup may be changing the actual grind.
Mistakes That Damage Your Grinder
A quick list of things people do with good intentions that backfire:
- Washing burrs with water. Unless your manual explicitly says it’s safe, keep water away from burrs. Steel burrs rust, and moisture near the motor is asking for trouble. Damp cloth on the outside, dry brush on the inside.
- Running rice through a burr grinder. Fine for blade grinders, risky for burrs. Use cleaning tablets instead.
- Using metal tools on the burrs. A screwdriver or wire brush leaves micro-scratches that trap oils and make future buildup worse.
- Skipping the chute. Everyone cleans the visible burrs and forgets the exit chute, where grounds compact into a little brick. A cotton swab or pipe cleaner reaches it.
- Reassembling damp parts. Any moisture left on metal parts starts rust. If you washed the hopper, make sure it’s bone dry before it goes back on.
It’s a lot like other small maintenance jobs around the house — the same way you’d deep clean a washing machine before it starts smelling, a little routine care prevents the big problems. Small jobs, big payoff.
FAQ
How often should I clean my coffee grinder?
For daily home use, a quick brush-out once a week and a full disassembly clean every 1–2 months. If you brew oily dark roasts or flavored coffees, clean more often — those leave residue fast. Commercial cafés clean daily because of the volume they push through.
Can I use rice to clean a burr grinder?
No — this is the most common bad advice in coffee forums. Rice is harder than roasted coffee beans and can damage burr grinders: stressing the motor, chipping burr coatings, leaving starch behind, and potentially voiding your warranty. Rice is only for blade grinders. For burr grinders, use dry brushing and purpose-made grinder-cleaning tablets like Urnex Grindz.
Can I wash my coffee grinder burrs with water?
Almost always no. Dry cleaning is the safer default. Baratza’s own guidance warns that washing burrs with water can cause rust and corrosion. Wash only removable parts the manufacturer approves (hopper, catch cup), and dry everything completely before reassembling.
Are grinder-cleaning tablets worth it?
Yes, for burr grinders. Tablets like Urnex Grindz are designed to absorb coffee oils and loosen compacted residue without damaging the burrs. They don’t replace brushing out visible grounds, though — think of them as the deep-clean step after the physical cleaning. Always purge with a small amount of beans afterward so no tablet dust ends up in your cup.
Why does my coffee taste bitter even with fresh beans?
A dirty grinder is a prime suspect. Rancid coffee oils on the burrs or blades add bitterness that no fresh bean can overcome. Try a full clean — most people notice the difference in the very first cup. Old grounds can also attract pantry pests, so there’s more than one reason to keep the area clean.
The Bottom Line
Cleaning your grinder isn’t glamorous, but it’s one of the highest-return habits in home coffee. Ten minutes with a brush (or a handful of rice, if you’ve got a blade grinder) and your beans finally taste like what you paid for. Put it on the same monthly rotation as the other small maintenance jobs you keep meaning to do — like unclogging that slow bathtub drain — and your future self will thank you every single morning.


One thought on “How to Clean a Coffee Grinder So Your Coffee Tastes Like It Should”